
Integration Guide
Framer
Publish blog posts as items in a Framer CMS collection.
How It Works
Every post you publish becomes a new item in your Framer CMS collection. Title, content, cover image, category and publish date are filled in automatically. Republish updates the same item; the change is live as soon as Framer re-publishes the collection.
Setup Steps
1
Open your Framer site settings
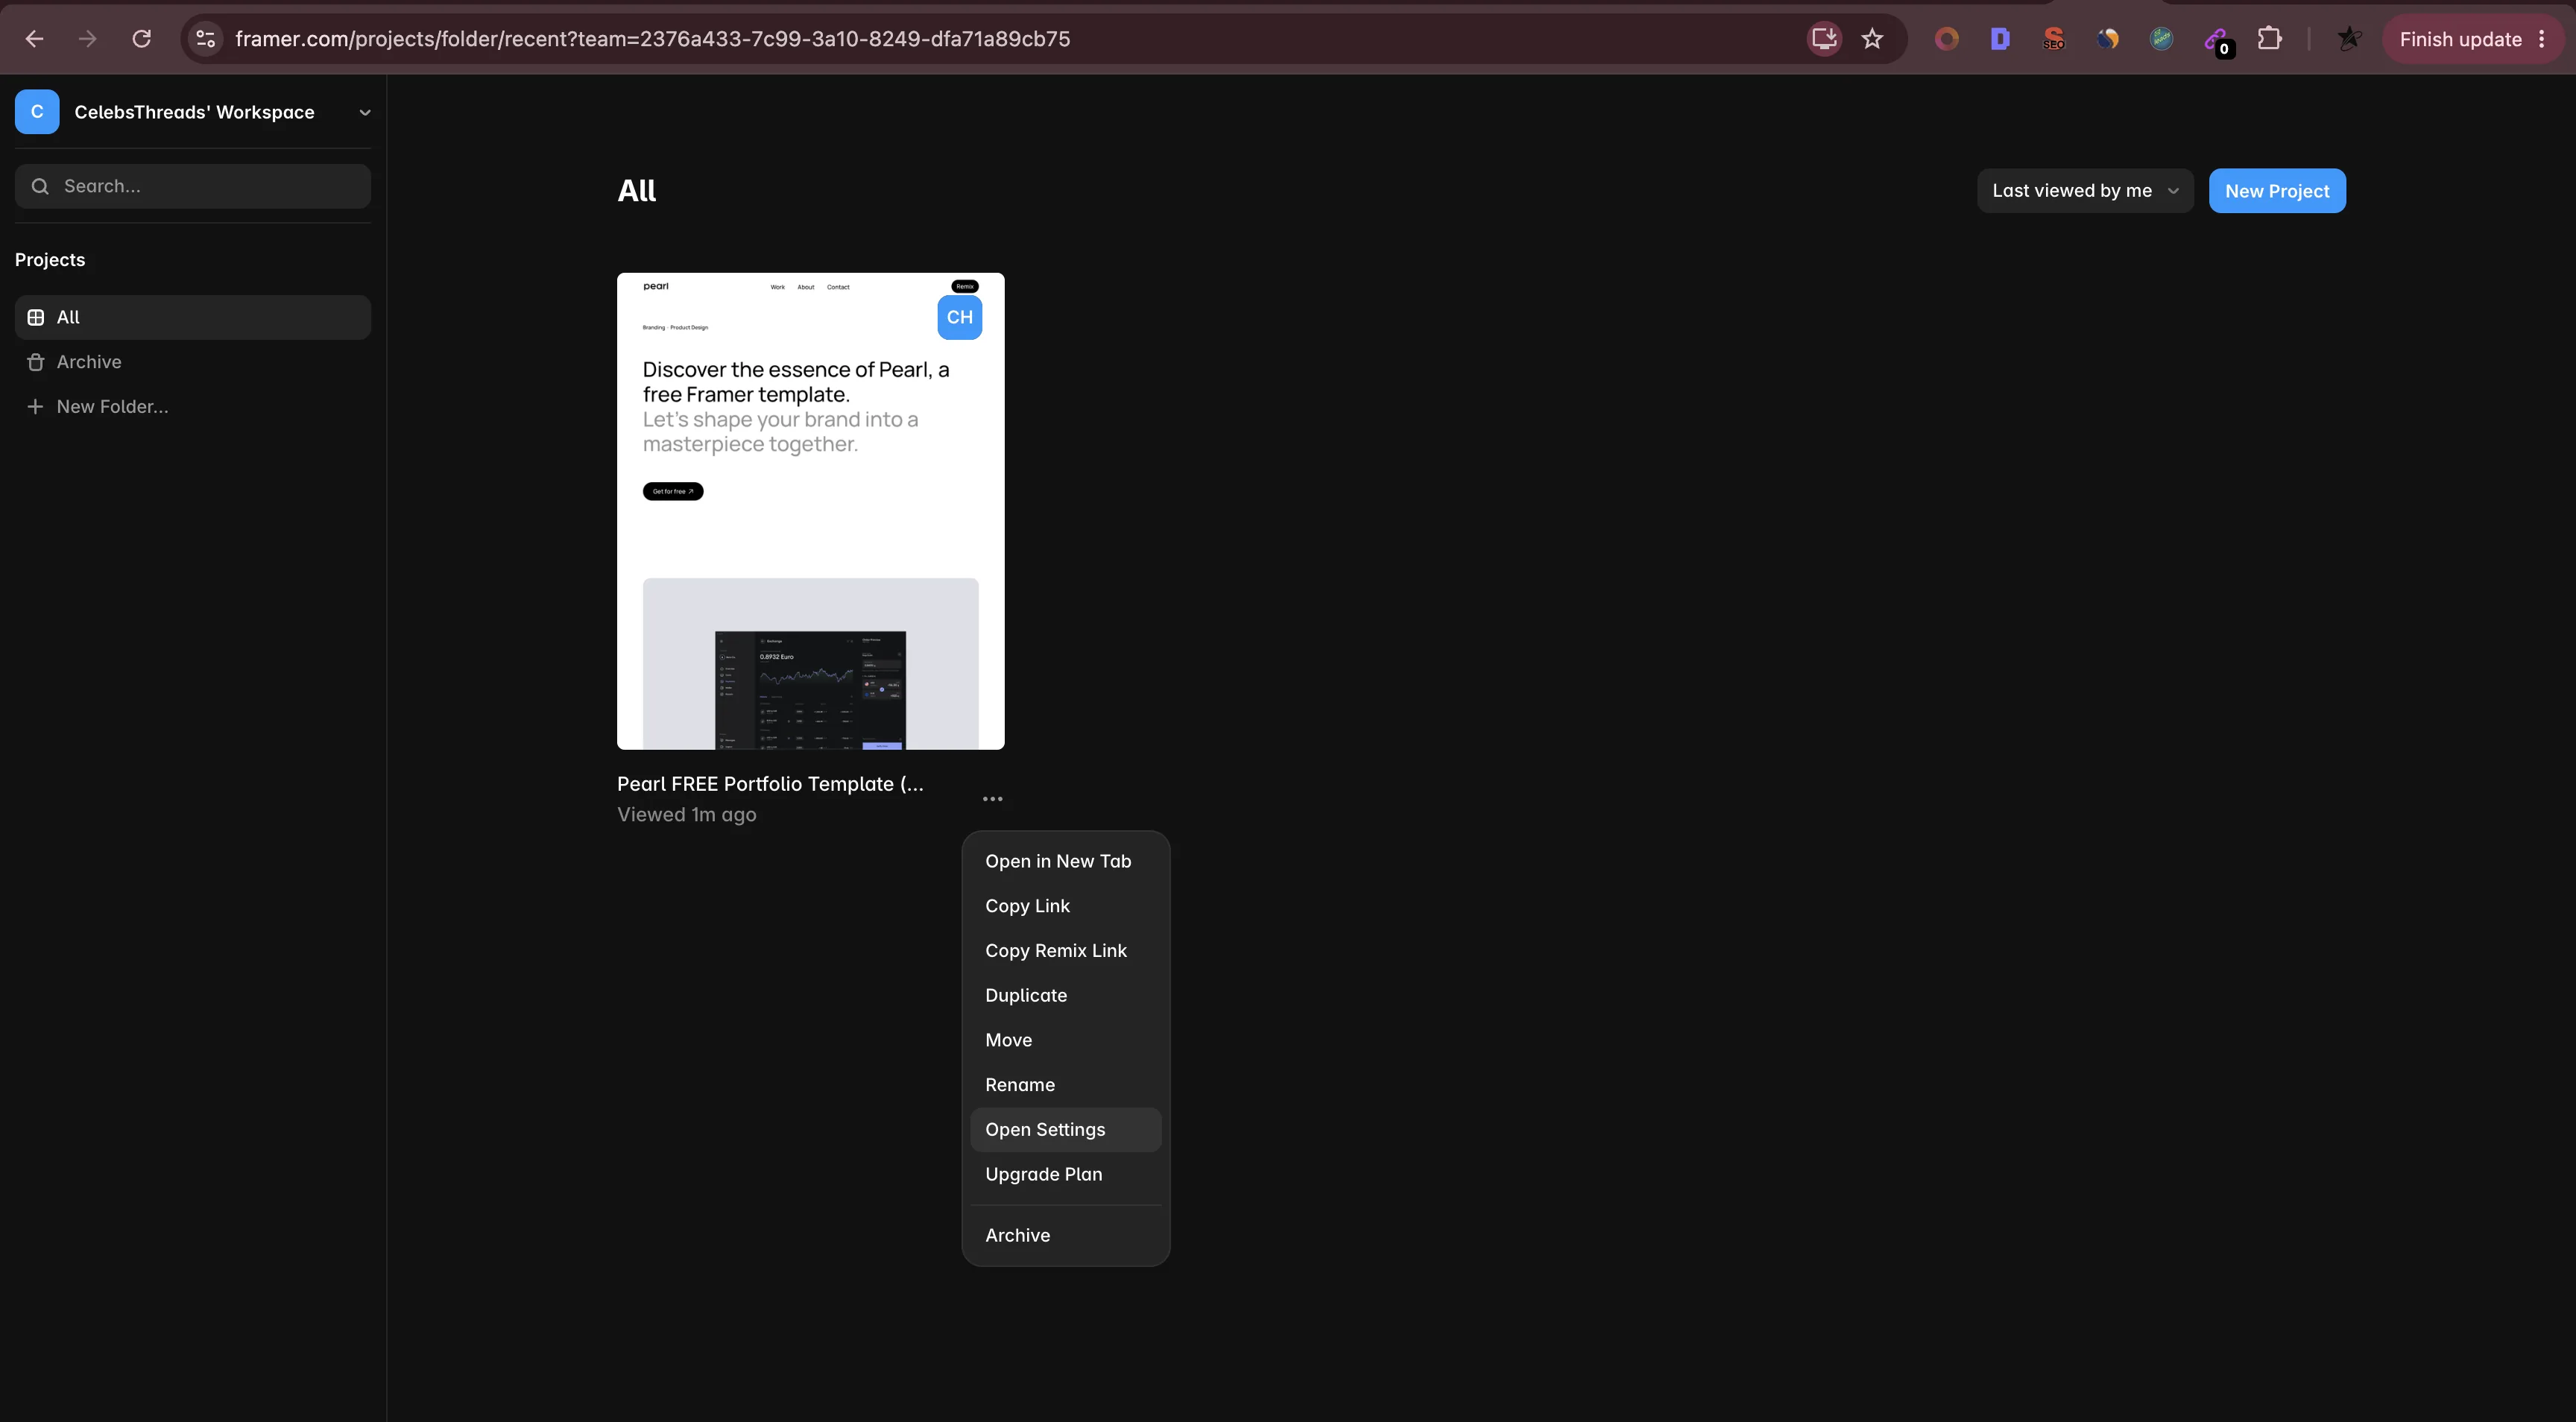
- Open your Framer project in the editor.
- Click your project name in the top-left, then choose Site Settings.
2
Open General settings
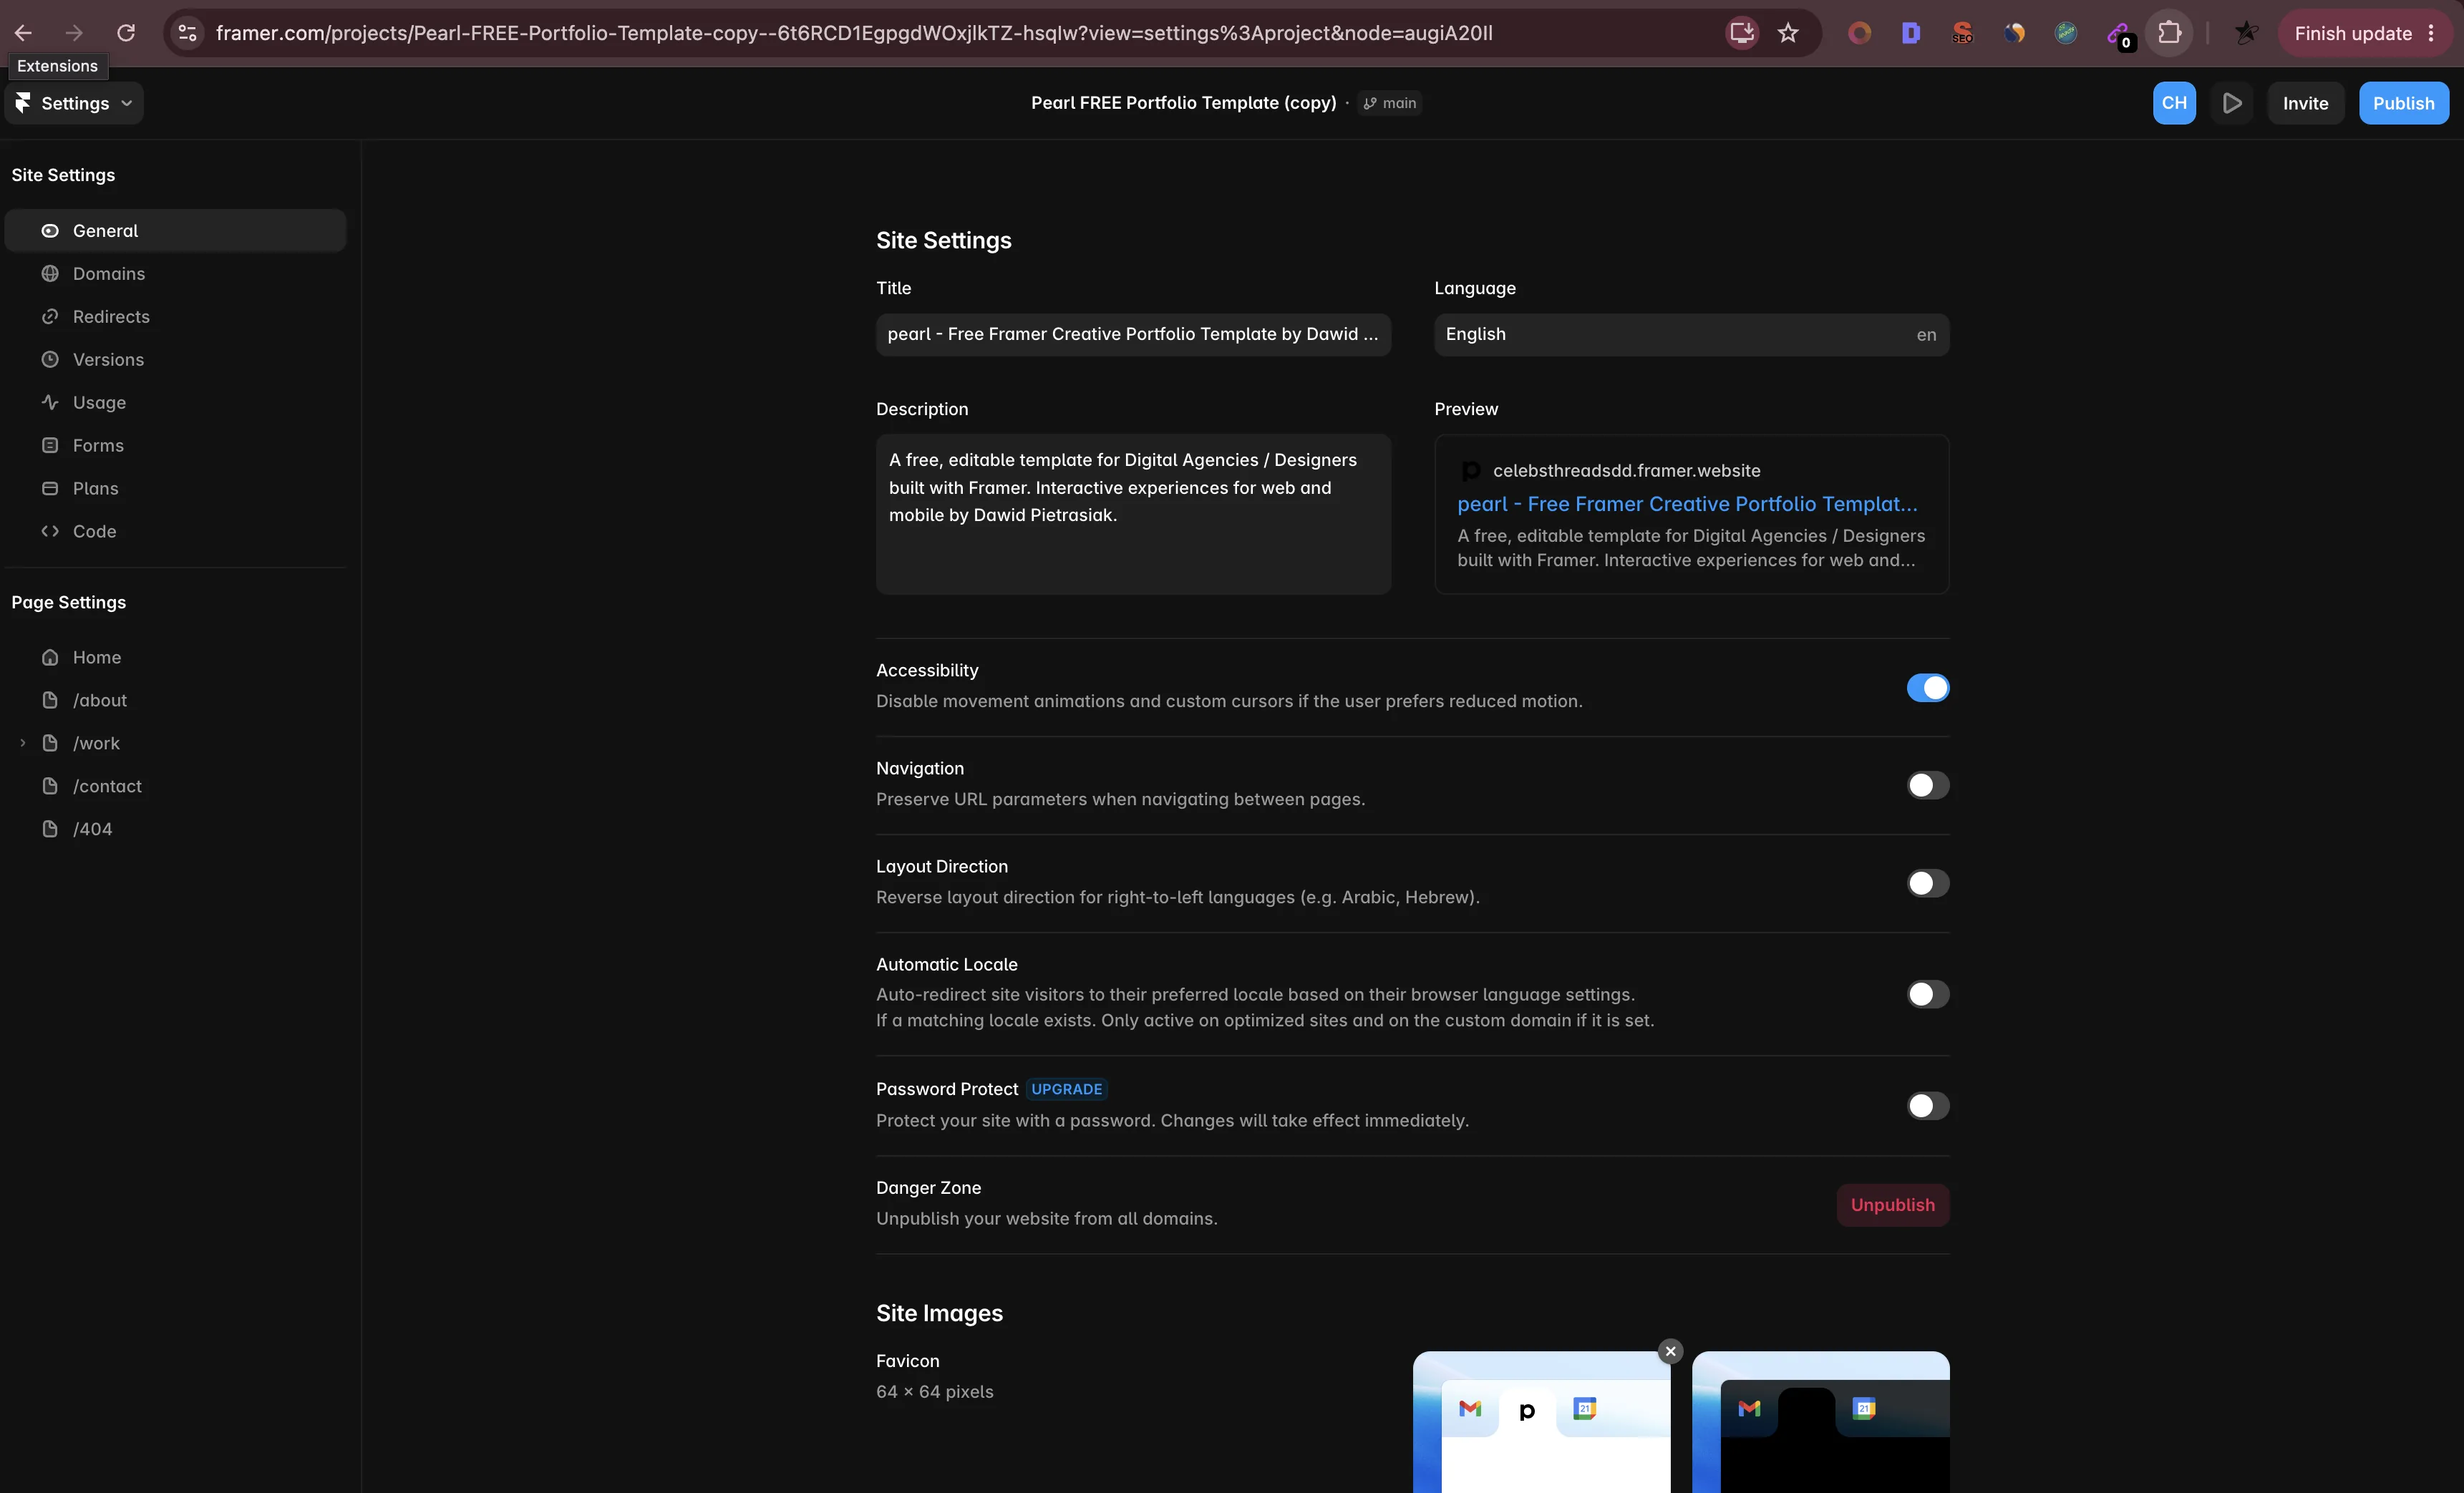
- In the left sidebar of Site Settings, click General.
- You'll see your Project ID here. Keep this tab open — you'll copy it in a moment.
3
Copy your Project ID
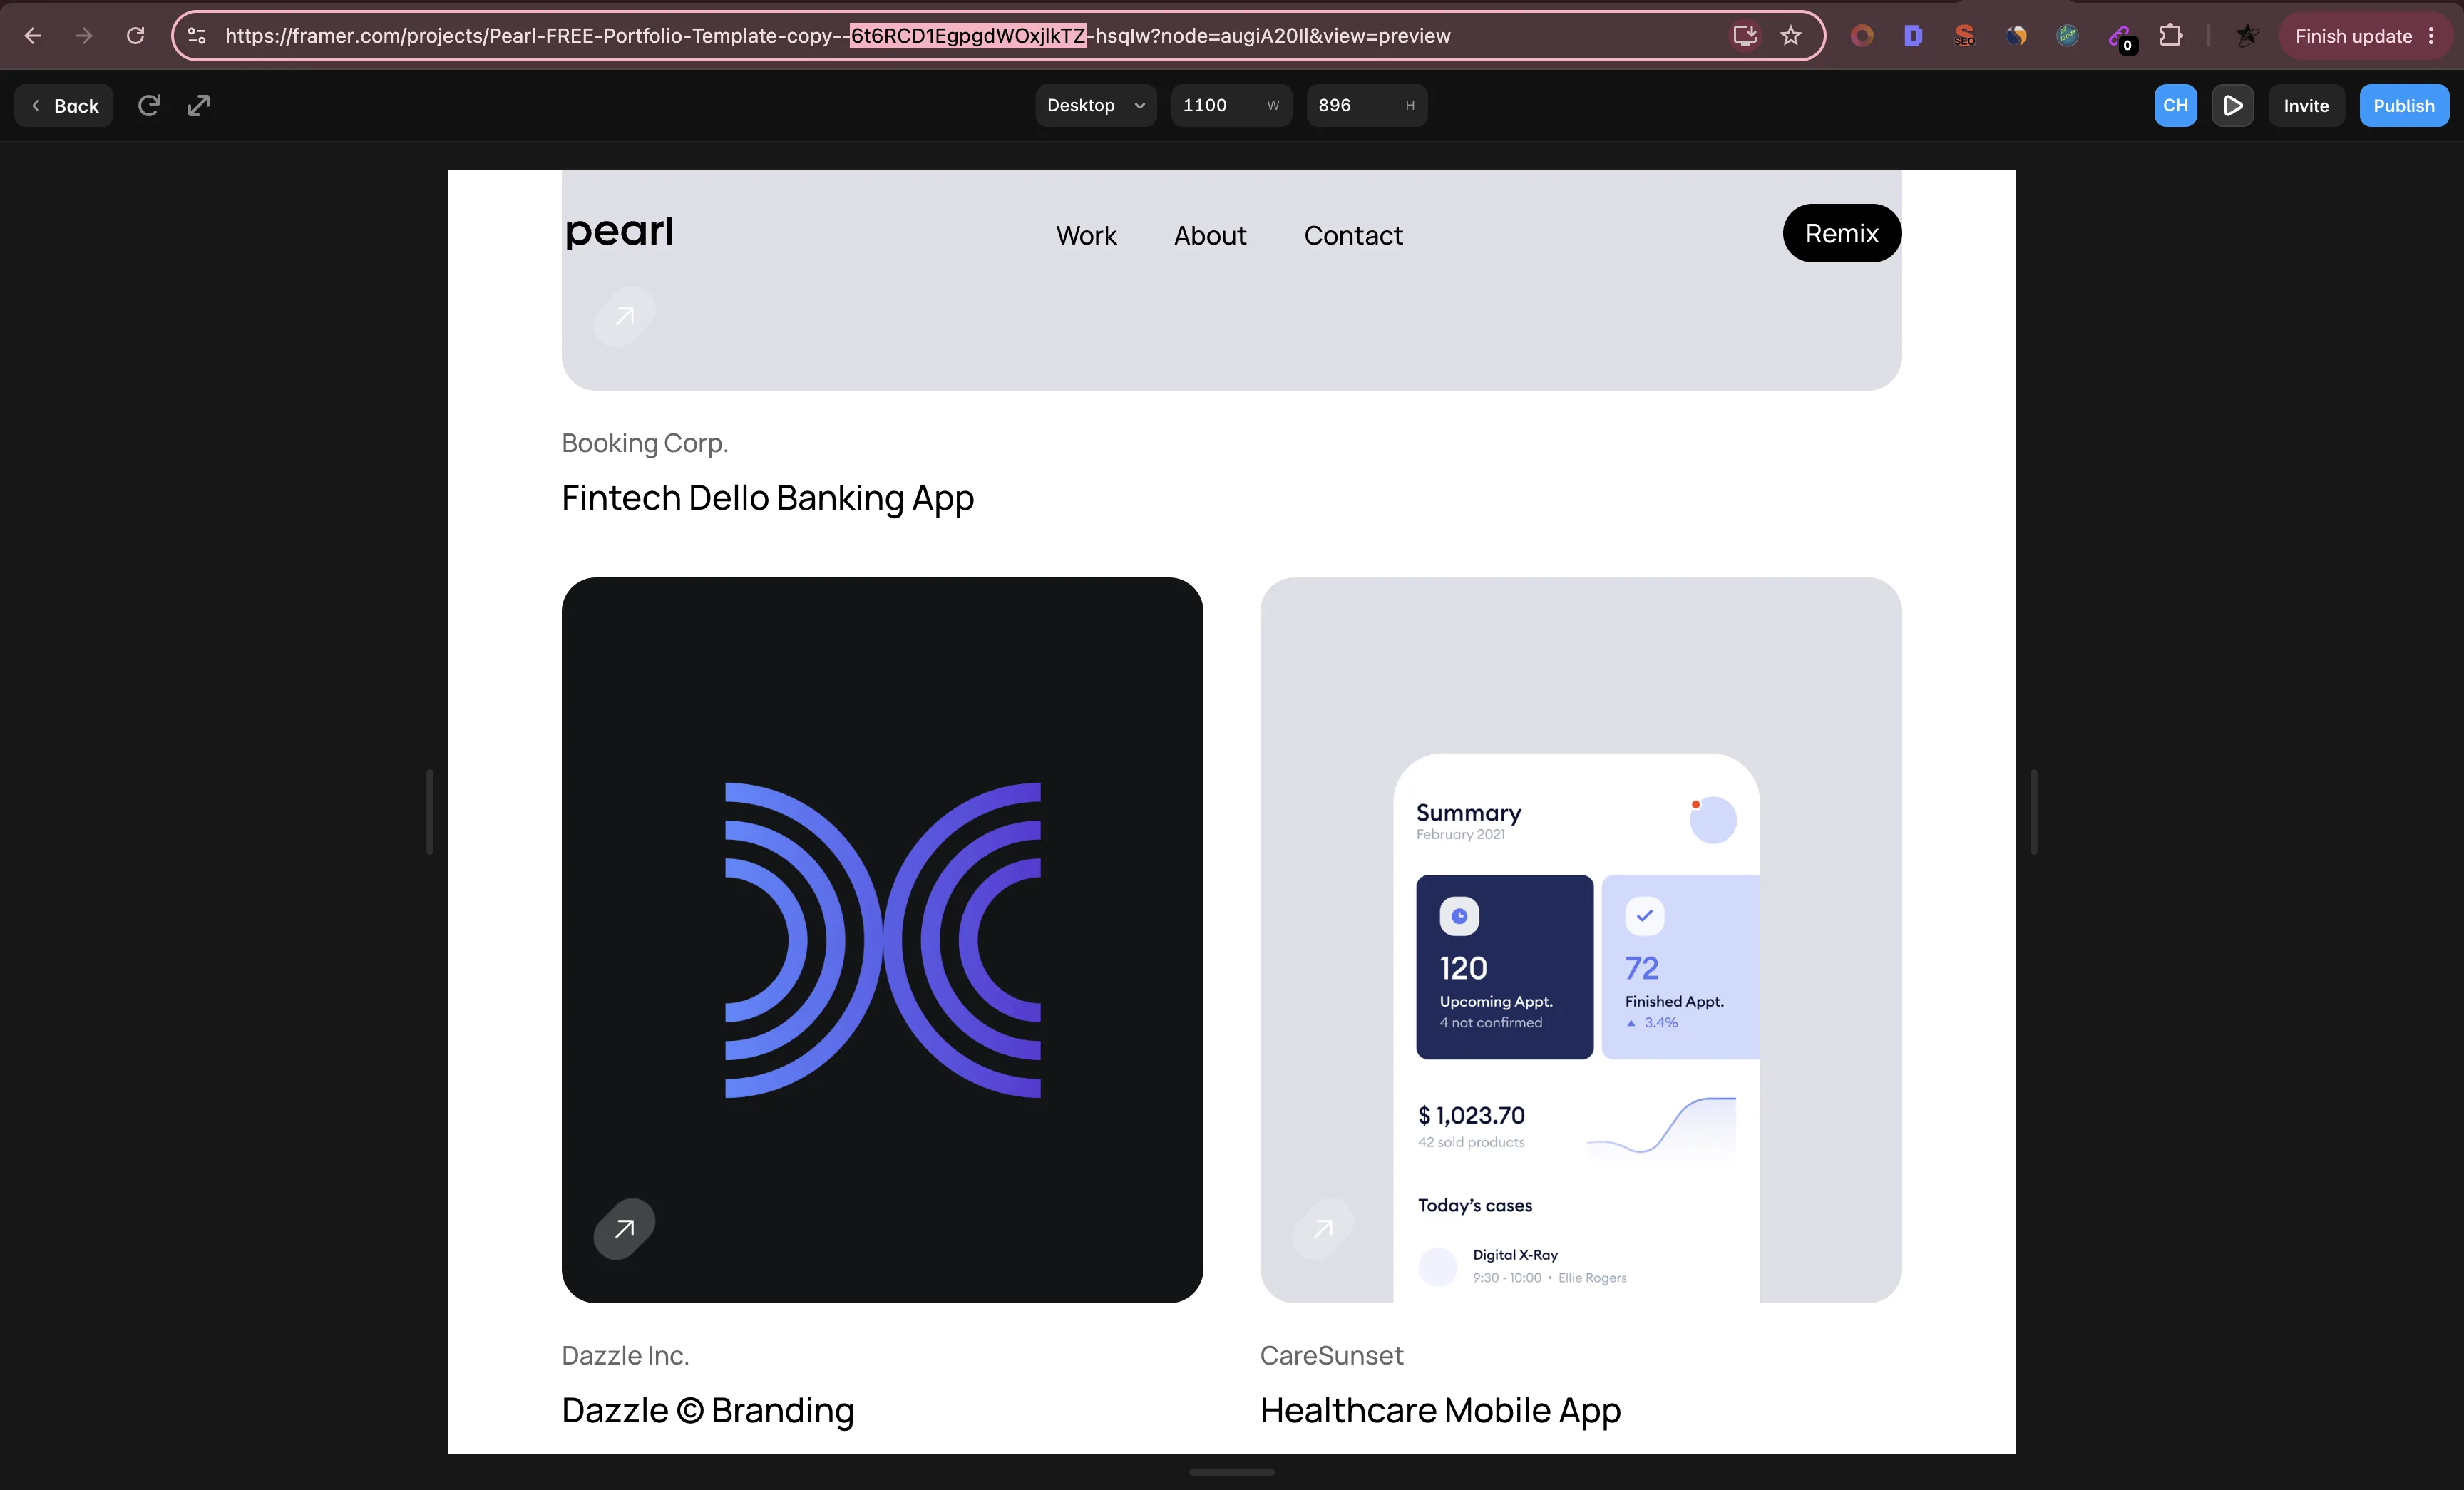
- Under General → Project ID, click Copy.
- This is the ID Azuqe uses to find your site.
4
Copy your API key
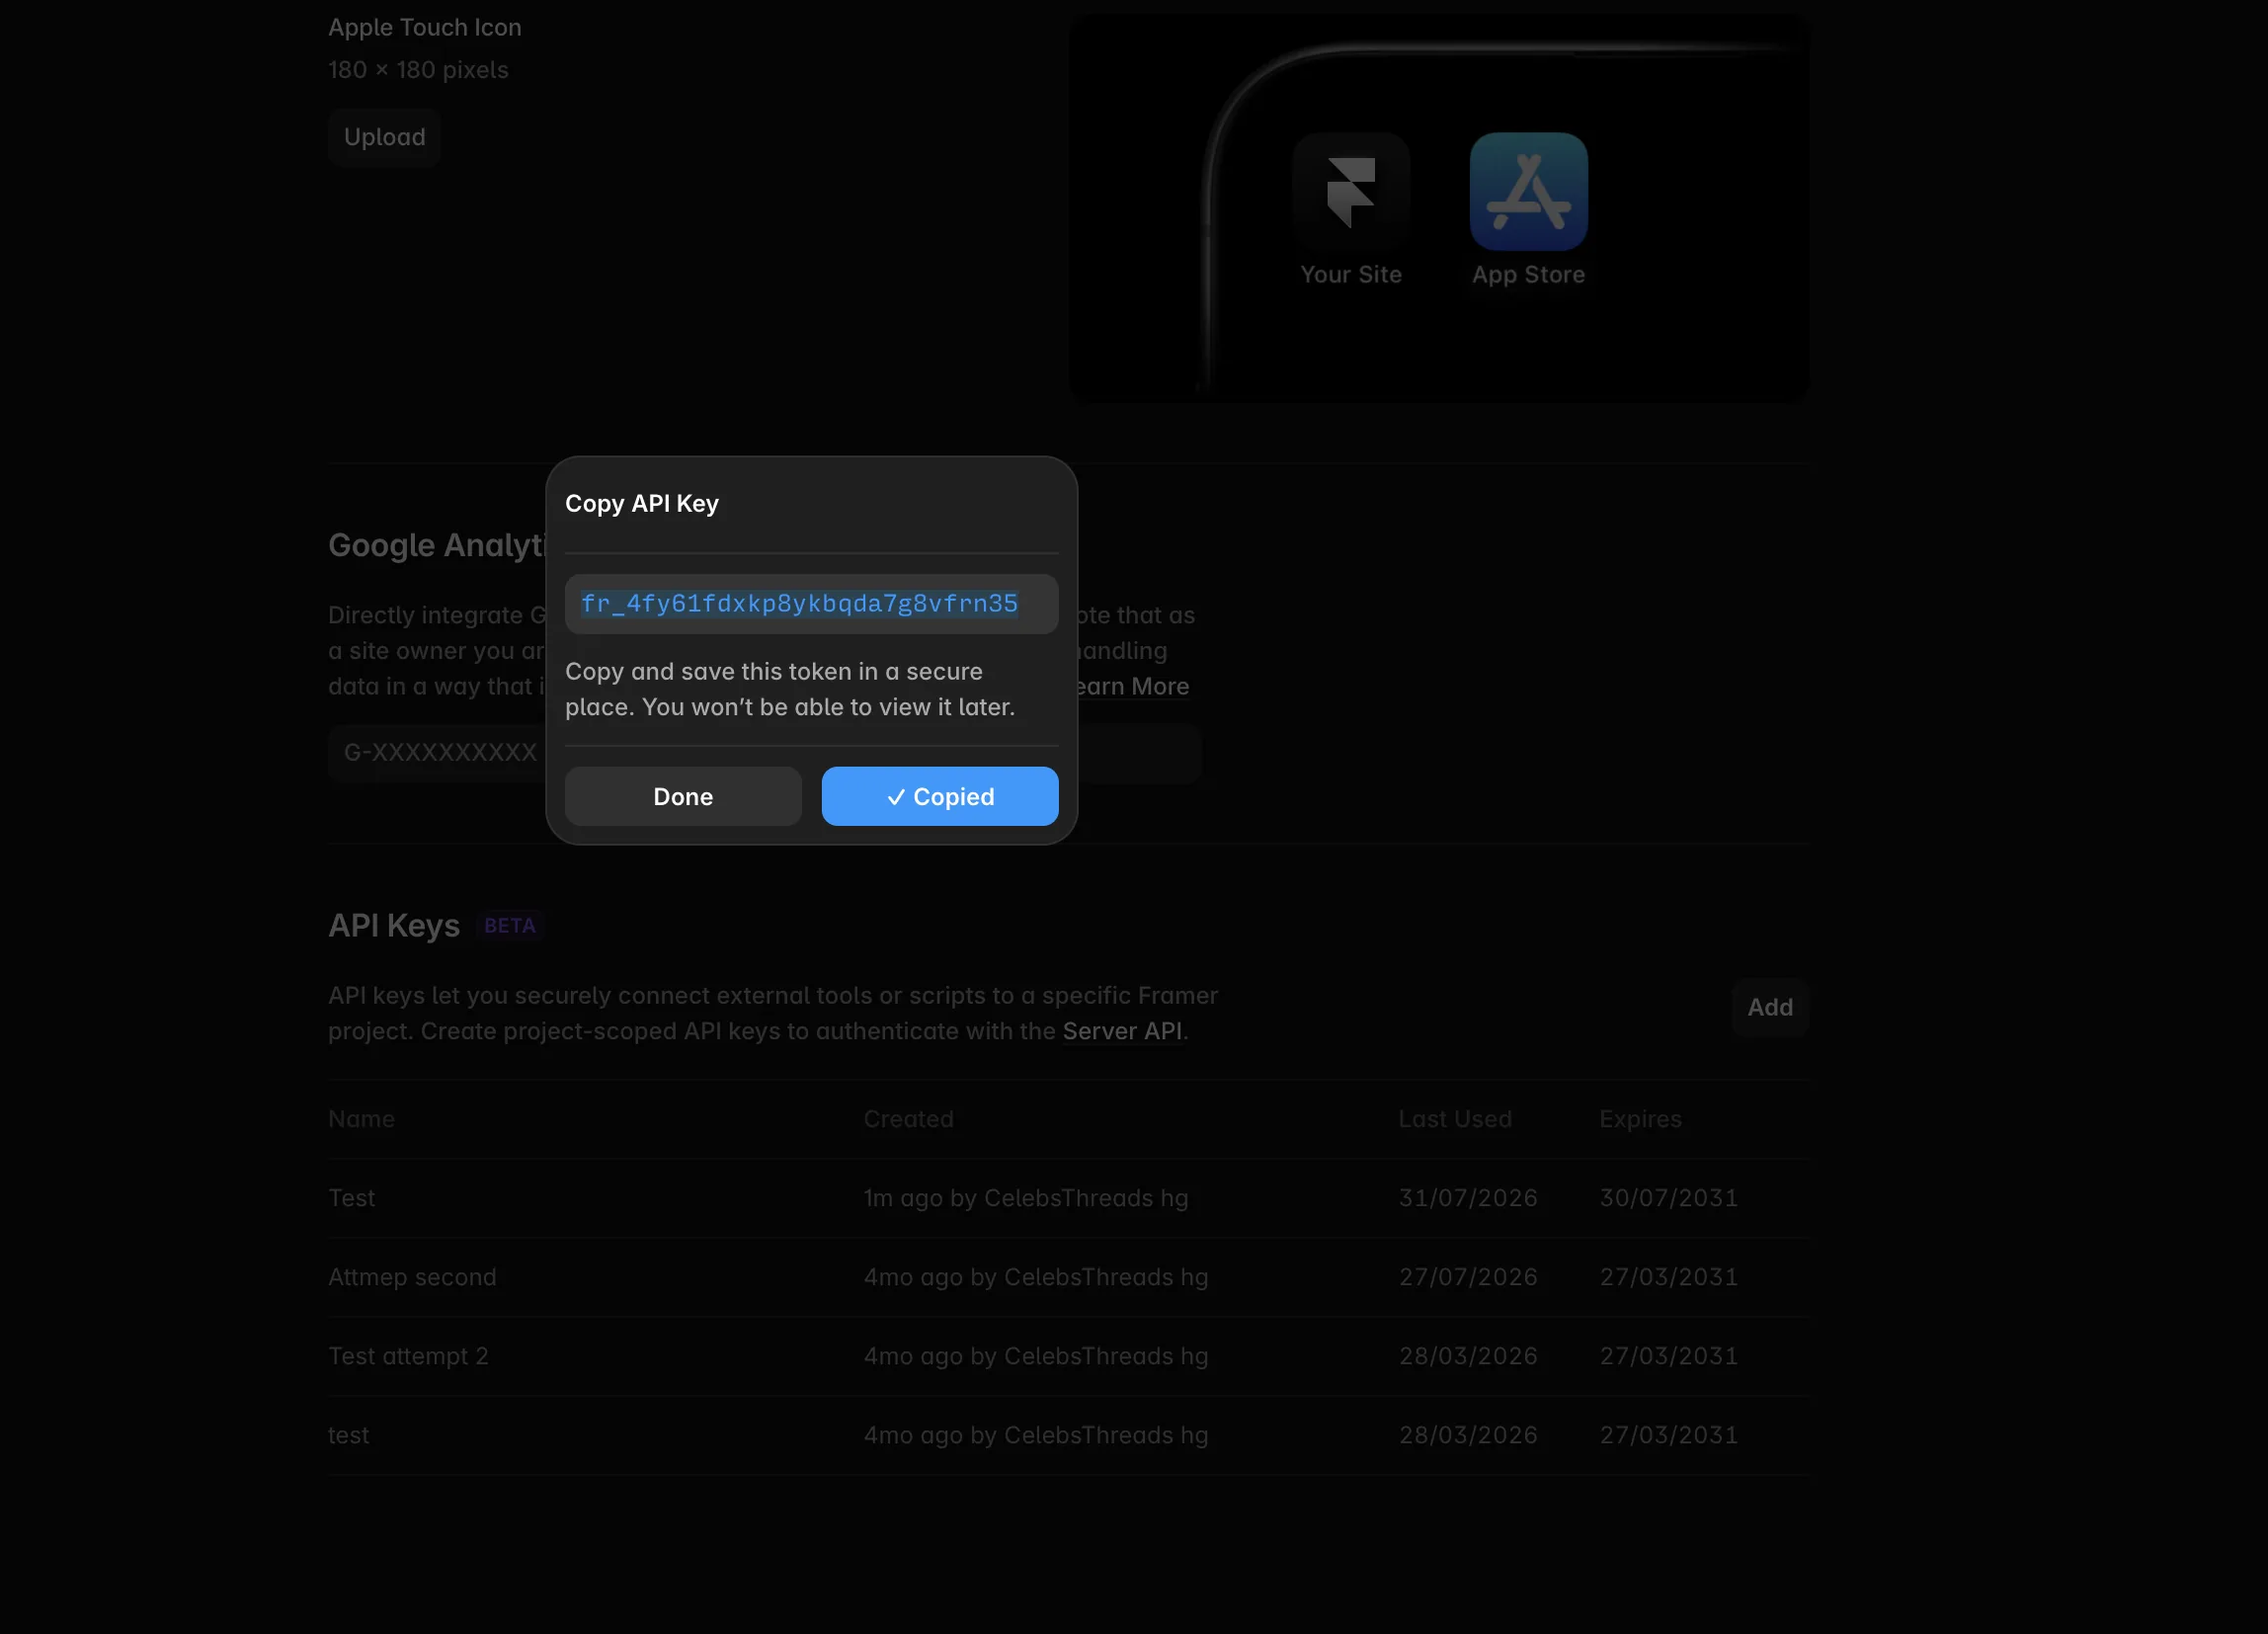
- Still in Site Settings, scroll down to the API section.
- Click Generate API key (or copy the existing one).
- Framer only shows the key once — paste it in Azuqe right after generating.
5
Set up your CMS collection
- Open your Framer project → CMS in the left sidebar.
- Use (or create) a collection named Blog, Posts, or Articles.
- Recommended fields: Title (Plain Text), Slug (Plain Text), Content (Rich Text / Formatted Text), Cover Image (Image), Category (Enum or Plain Text), Published Date (Date).
- Azuqe fills each of these automatically by field name — the field types must match.
6
Connect in Azuqe
- Open Connected Apps → Framer → Connect.
- Paste your Project ID and API key; click Connect.
- After a publish, open your CMS and confirm the row shows Title, Content, Cover Image, and Published Date filled in.
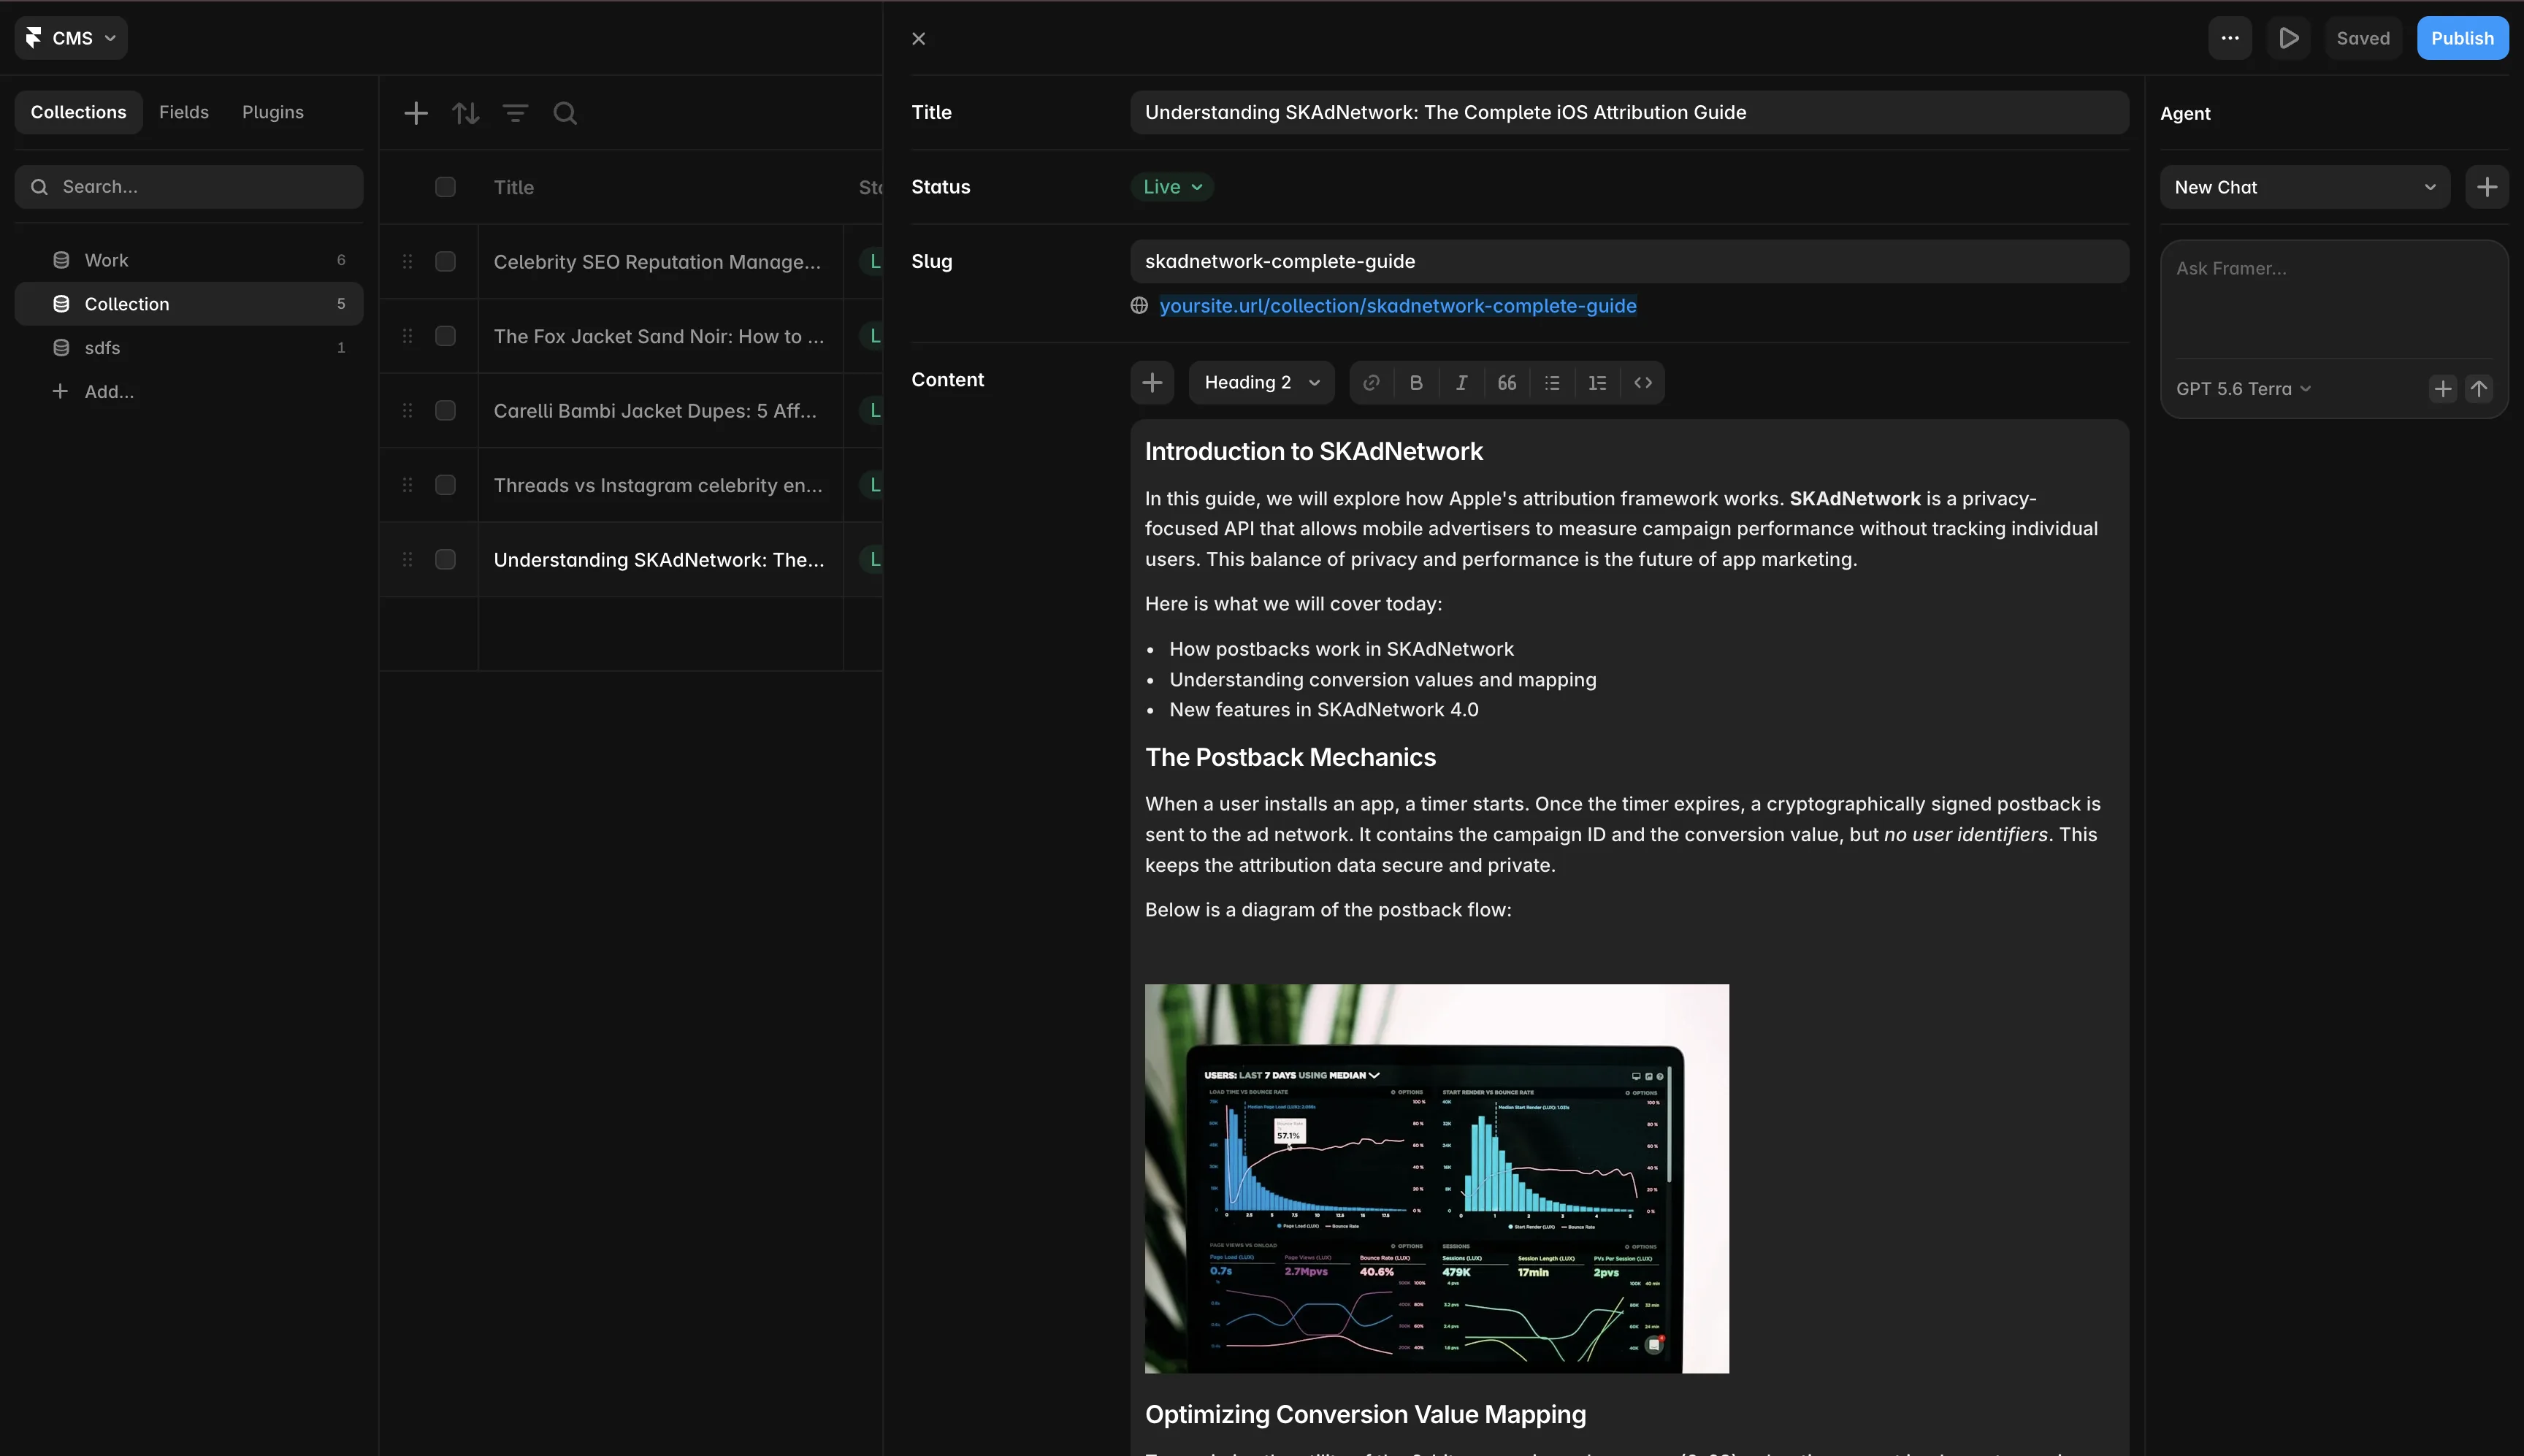
What Gets Synced
Blog posts become native CMS items — no manual copy-paste.
Cover image, category, and published date are filled in automatically.
Republish updates the same CMS item — no duplicates.
Rich text content preserves headings, lists, images, and links.
Troubleshooting
Ready to connect?
Open your dashboard and navigate to Connected Apps to link Framer.