
Integration Guide
Shopify
Publish blog articles to your Shopify store.
How It Works
Each post you publish becomes an article on your Shopify blog with featured image, tags and meta description. Republish updates the same article; Remove deletes it. You only paste 3 things — Store URL, Client ID and Client Secret from your Dev Dashboard app. Azuqe fetches the store token internally on every call, so nothing on your side expires.
Setup Steps
1
Open the Dev Dashboard
- In Shopify Admin → Settings → Apps and sales channels.
- Click Build apps in Dev Dashboard.
2
Create the app
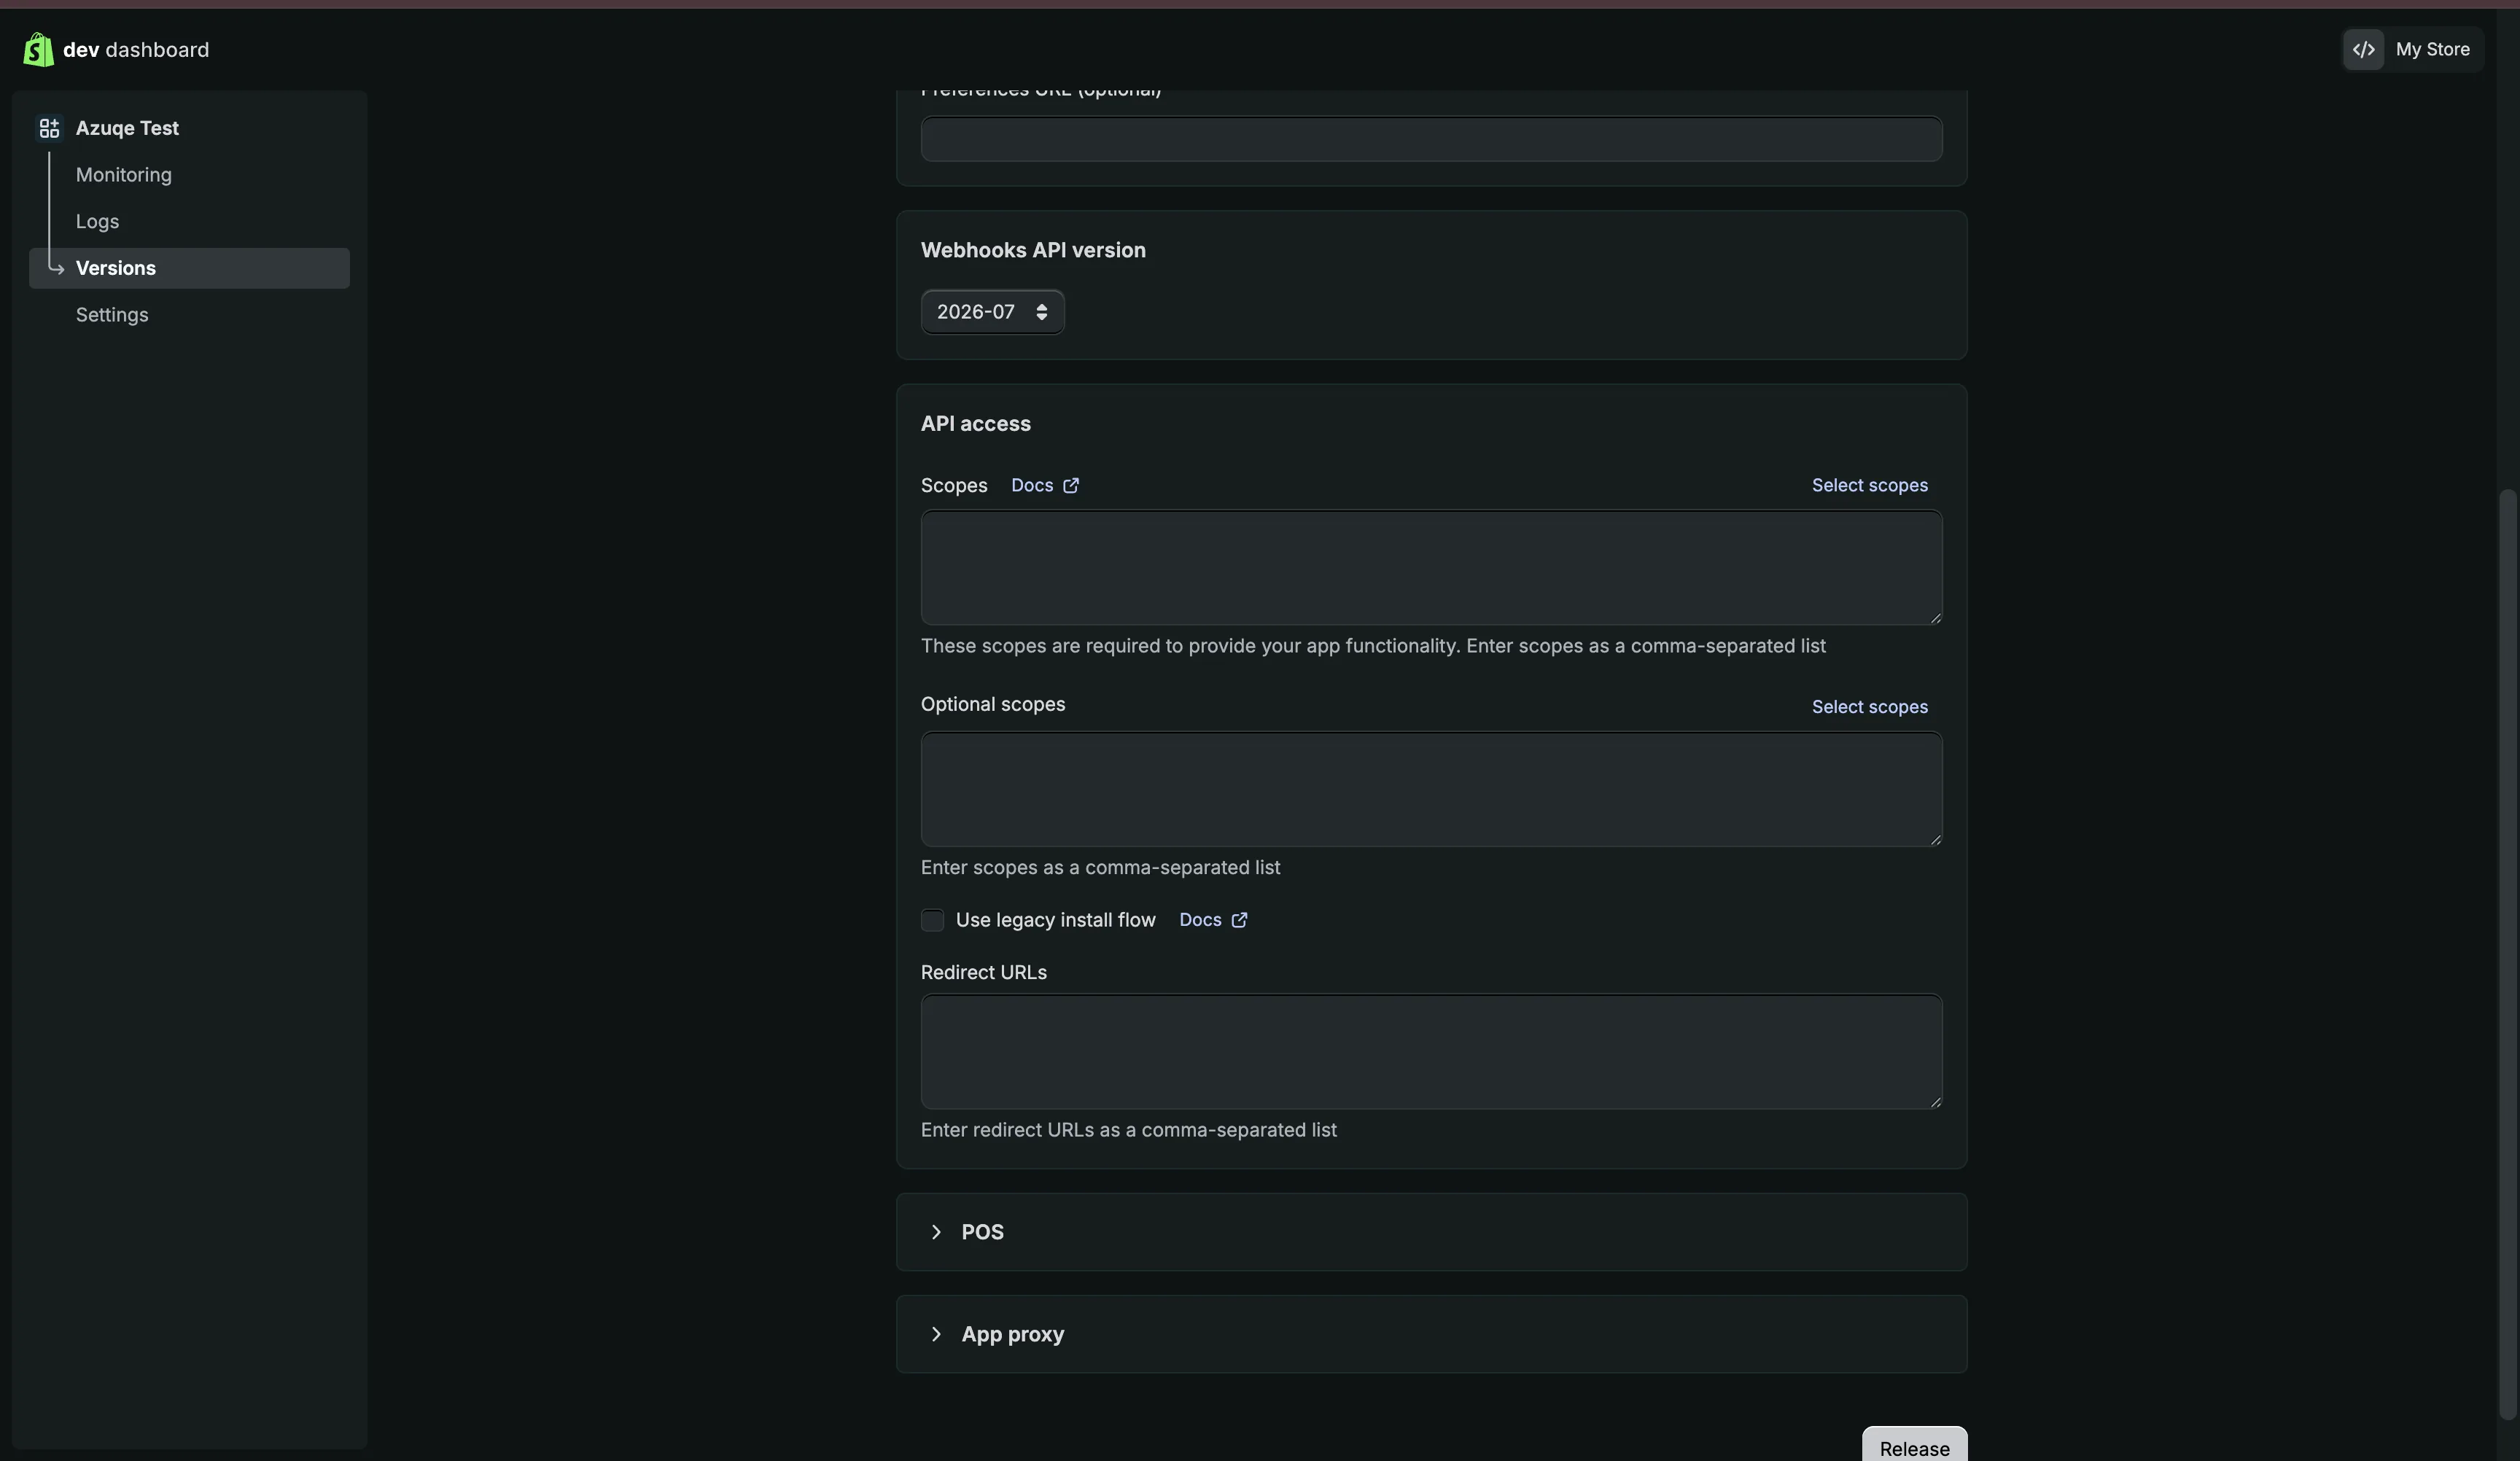
- Click Create app, name it Azuqe, click Create.
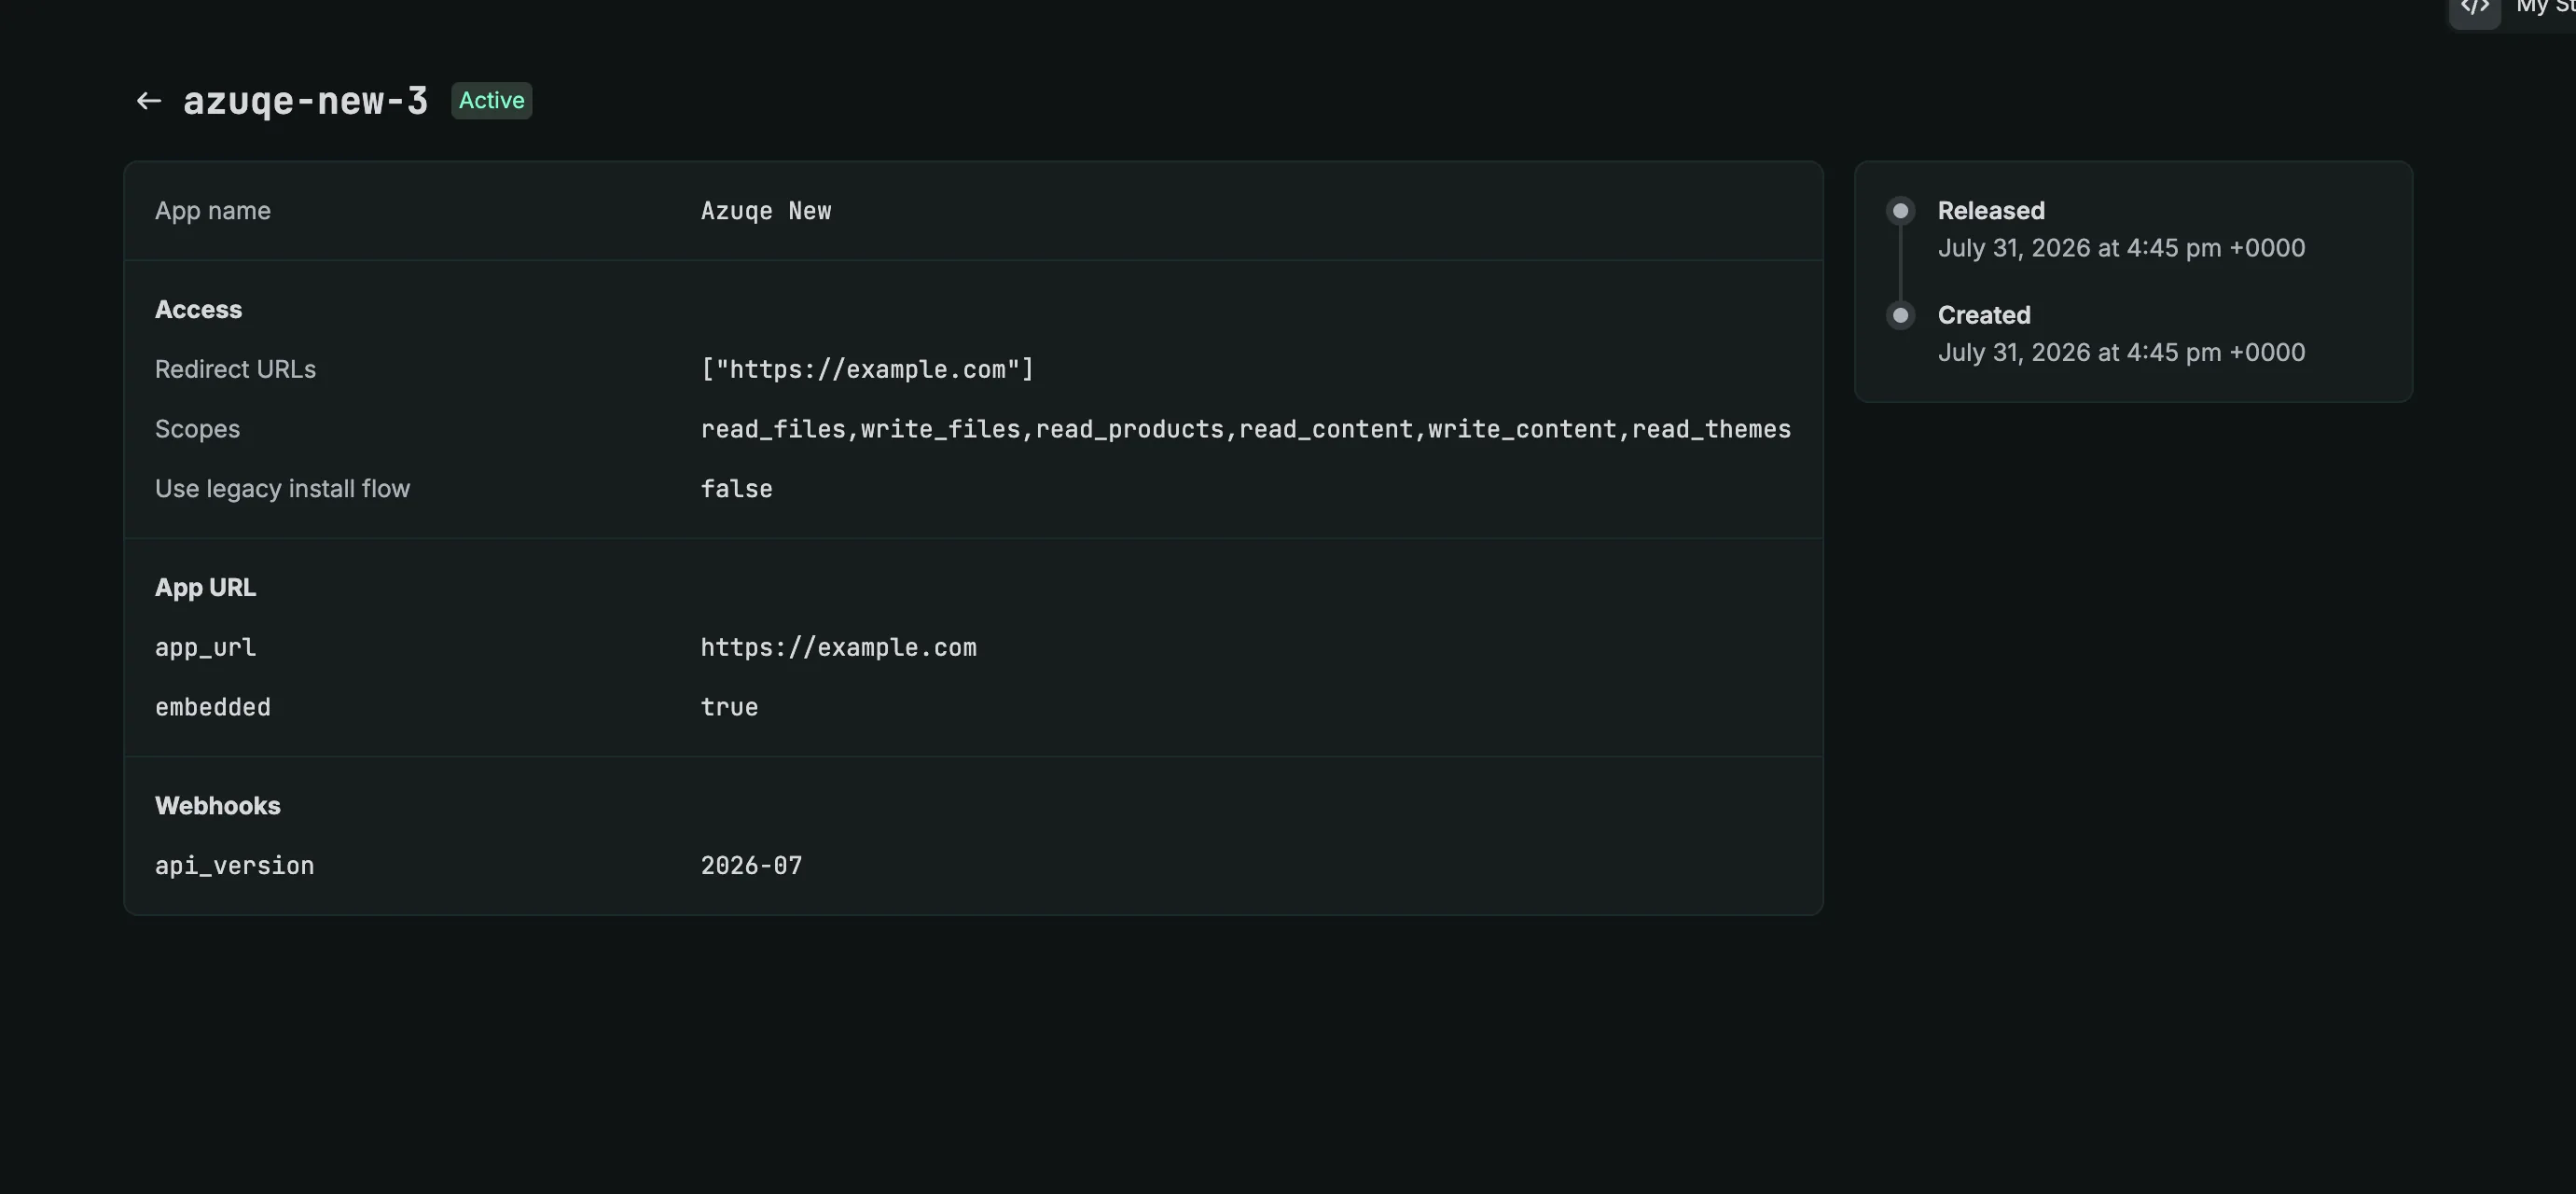
- Open the Scopes tab and enable: read_content, write_content, read_files, write_files.
- Click Release to activate the version.
3
Install the app on your store
- From the app overview, click Install and pick your store.
- Grant the requested scopes.
4
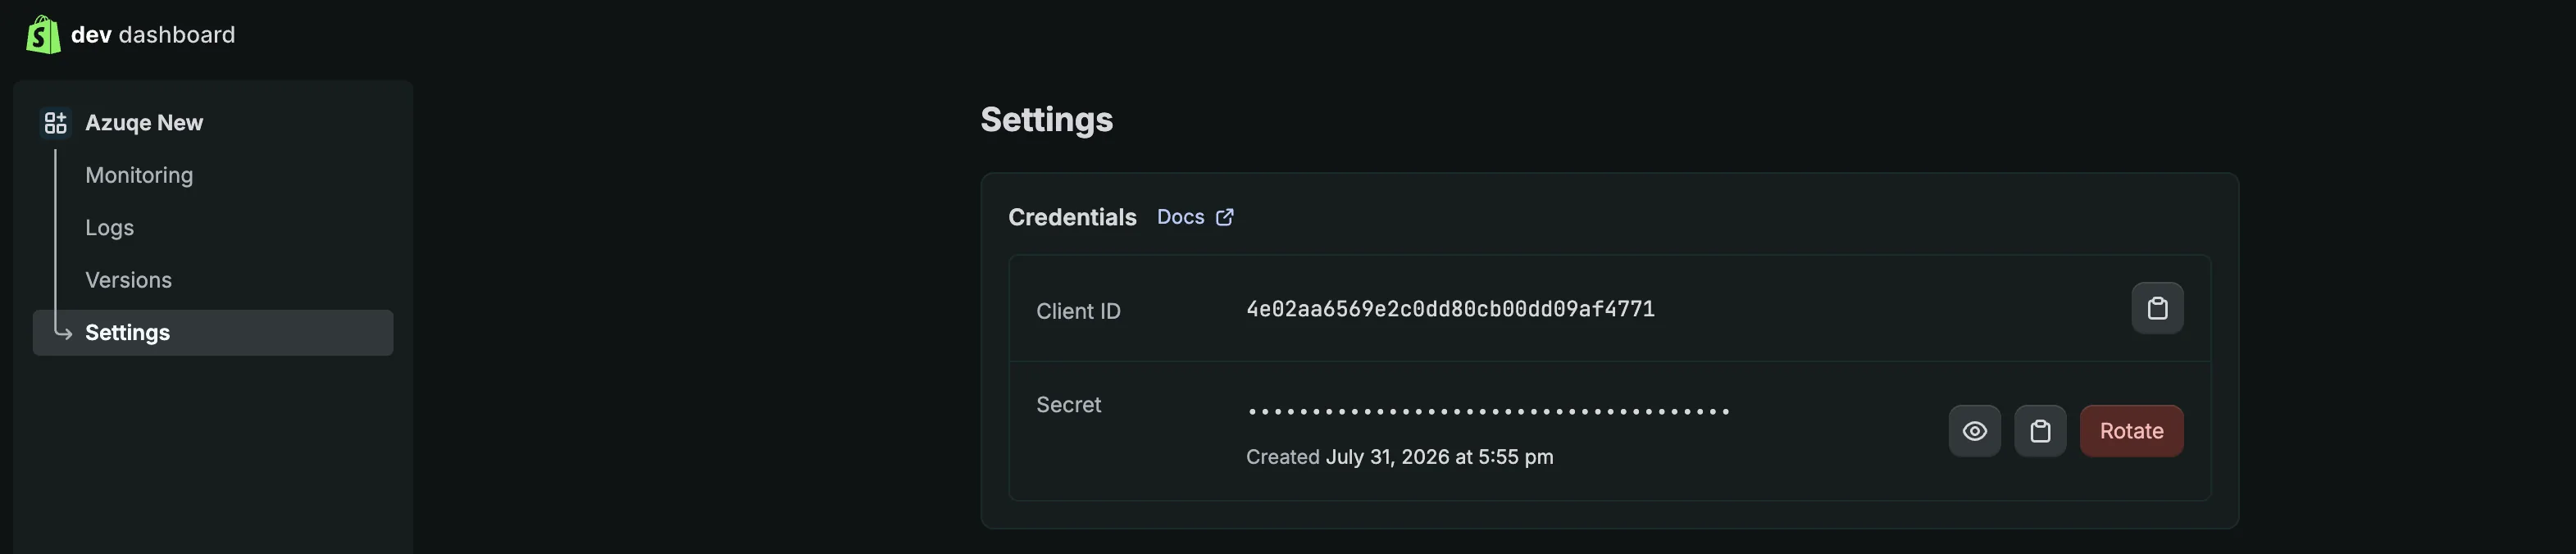
Copy Client ID and Client Secret
- In the app → Settings → Credentials.
- Copy Client ID (32-char string) and Client Secret (starts with shpss_).
5
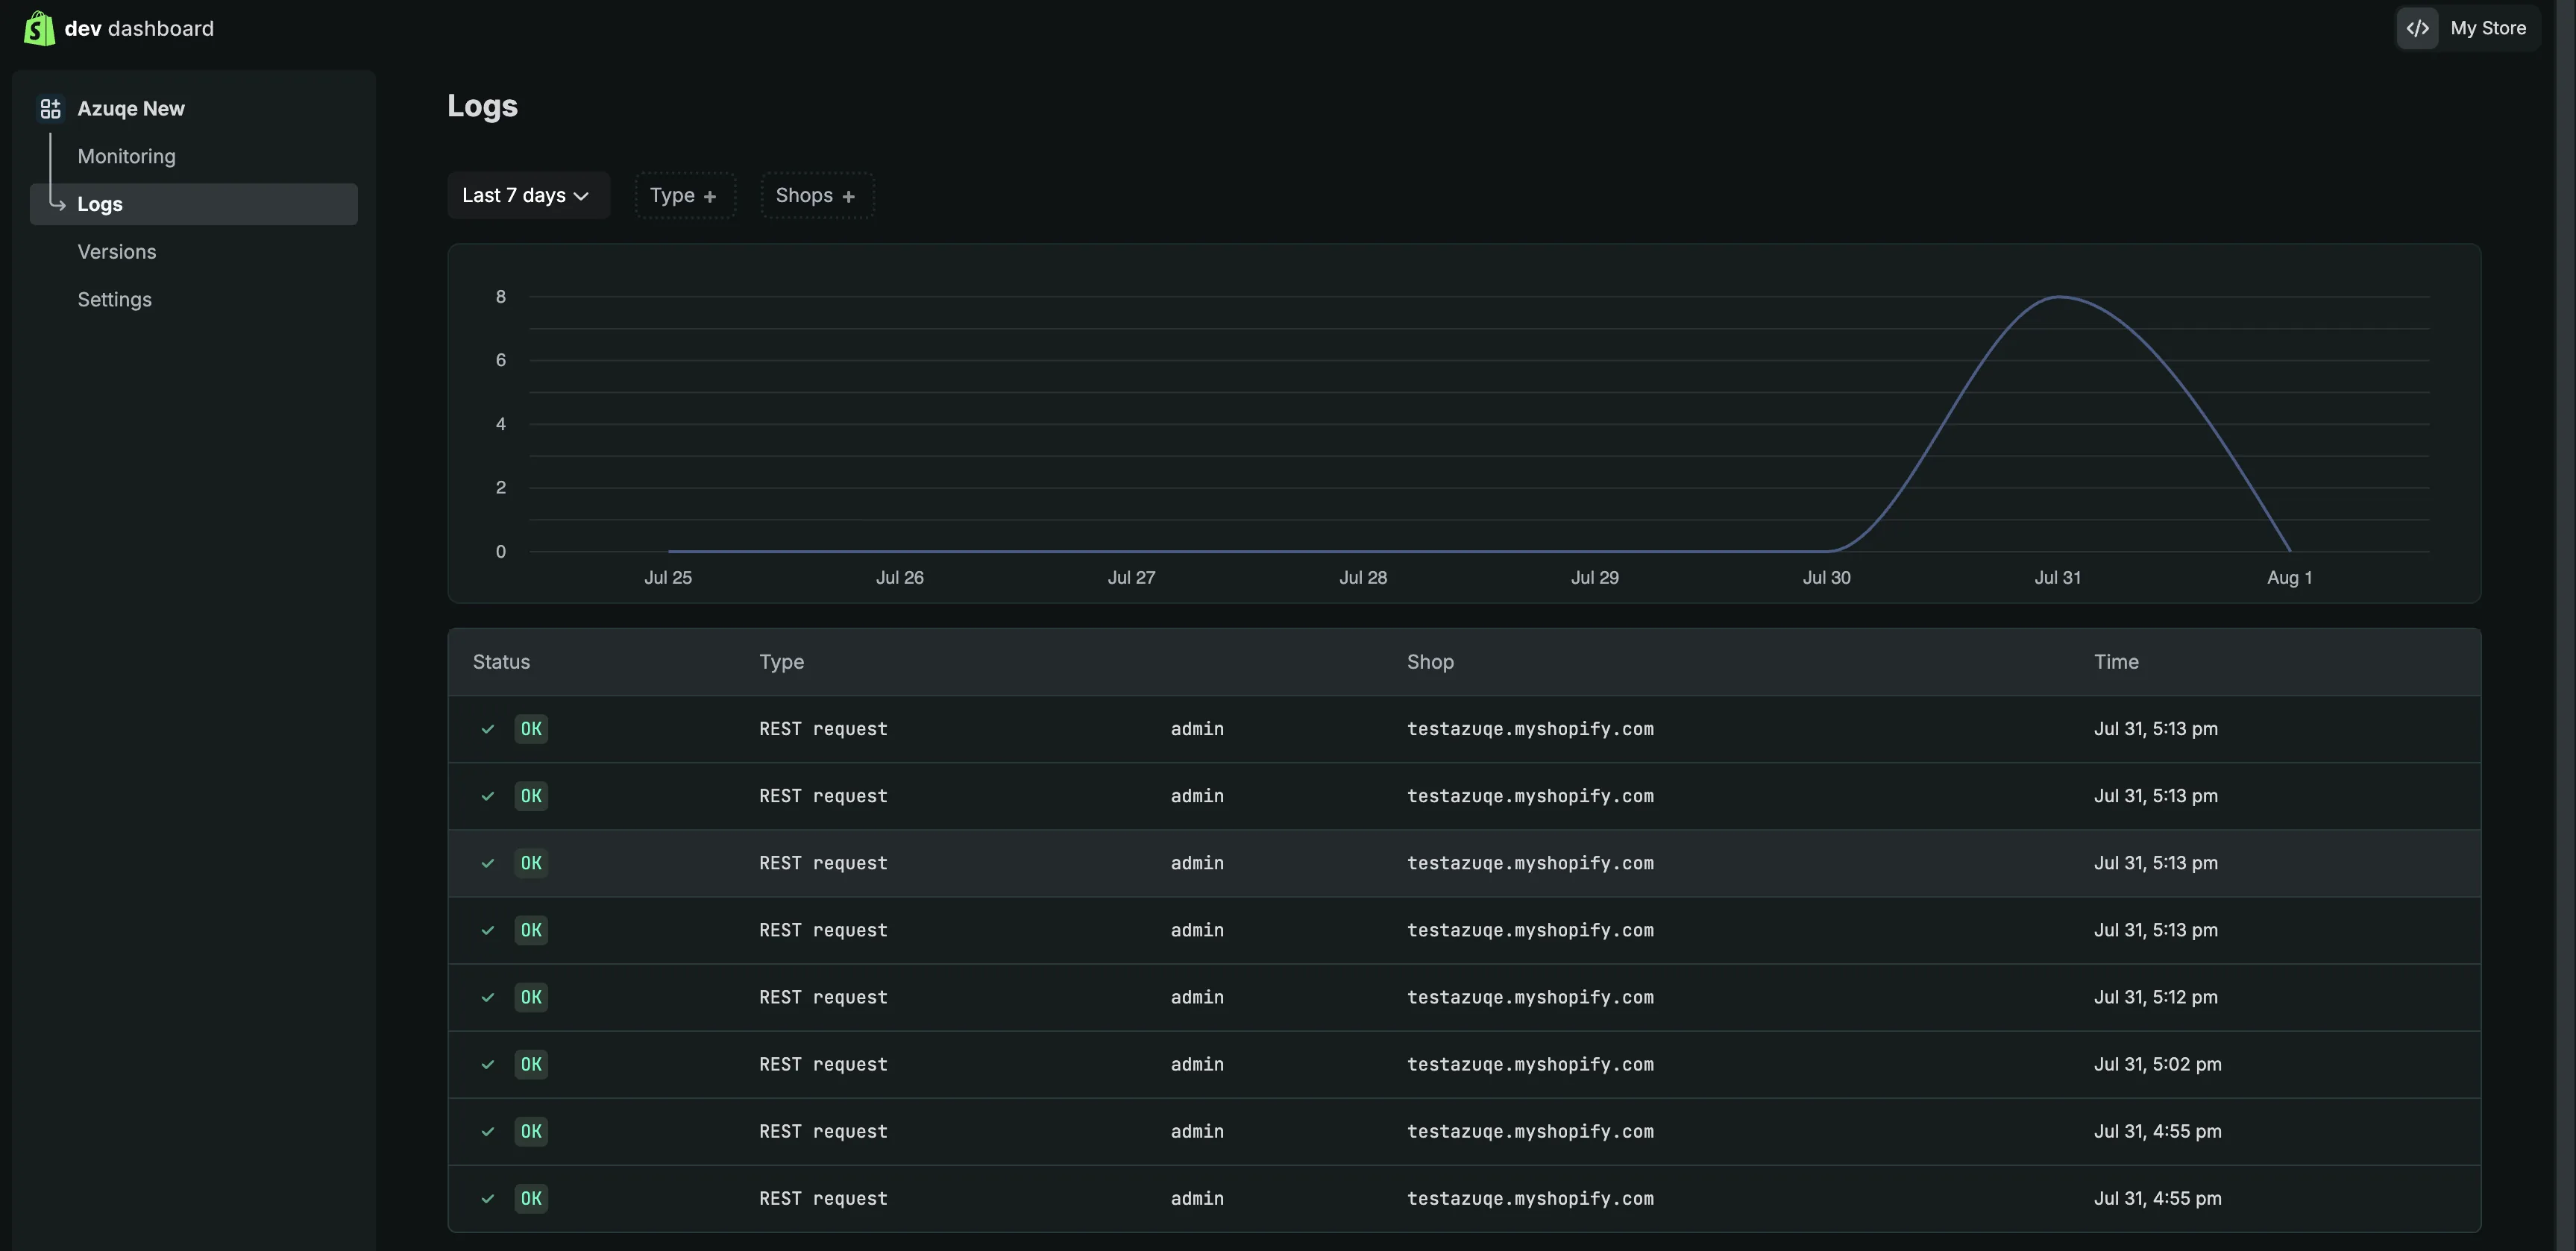
Find your Store URL
- It's the myshopify.com domain from your Admin URL — e.g. testazuqe.myshopify.com.
6
Connect in Azuqe
- Open Connected Apps → Shopify → Connect.
- Paste Store URL, Client ID, Client Secret. Leave Blog ID blank to use the store's default blog.
- Click Connect and run Connection Test.
What Gets Synced
Only 3 required fields — no token management on your side.
Azuqe exchanges Client ID + Secret for a fresh Admin API token on every call.
Publishes as native Shopify articles with image, tags and meta description.
Republish updates the same article; Remove deletes it.
Troubleshooting
Ready to connect?
Open your dashboard and navigate to Connected Apps to link Shopify.